
How to create a custom block
This guide explains how to design a block layout in the Block Composer from scratch, including drawing custom areas, using presets, adding rows, and assigning CMS elements.
Prerequisites
- The tutorial Getting started is complete — you know how to reach the Block Builder and create a block.
- Admin role with at least
ssd_custom_block.creatorpermission.
Using a layout preset
Presets are the fastest way to start:
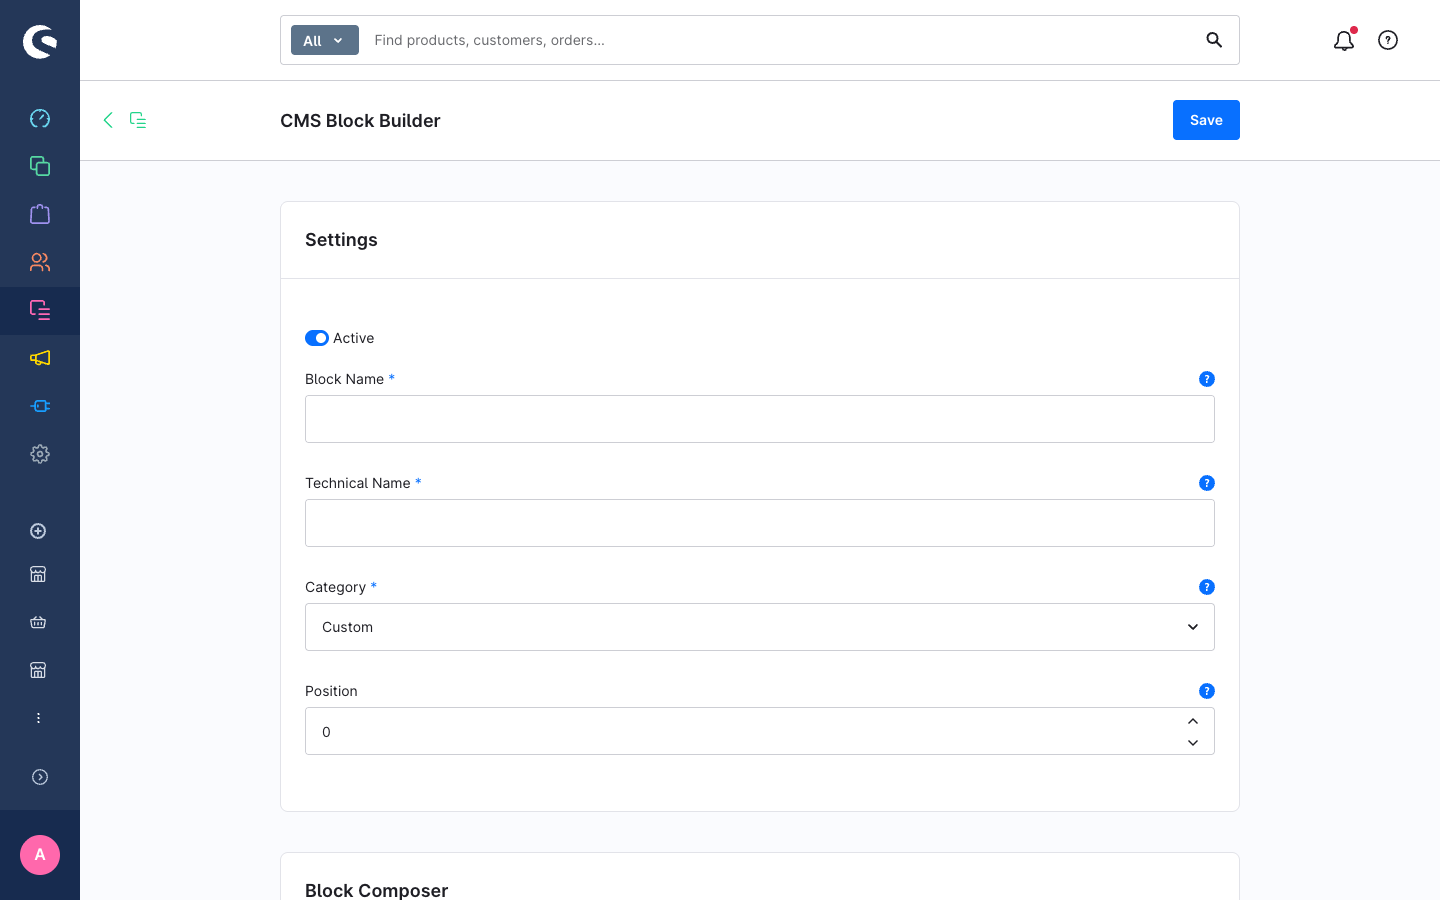
- Open the create page (Content > CMS Block Builder > Create Block).
- After filling in the settings card, scroll to the Block Composer card.
- The empty state shows preset cards. Choose one:
| Preset | Grid layout |
|---|---|
| 1 Column | Full width — one slot spanning all 12 columns |
| 2 Columns | Two equal 6-column slots |
| Sidebar Left | A narrow 4-column left slot and a wide 8-column right slot |
| Sidebar Right | A wide 8-column left slot and a narrow 4-column right slot |
| 3 Columns | Three equal 4-column slots |
| 4 Columns | Four equal 3-column slots |
- Click a preset to apply it. The grid shows the placed areas immediately.
Drawing a custom area
For a layout that no preset covers:
- Position your pointer over an empty cell in the grid. The cursor changes to indicate you can draw.
- Click and hold the mouse button on the starting cell.
- Drag to the ending cell — a blue highlight shows the area being drawn. A size label (e.g.
6×2) appears in the preview. - Release the mouse button. If the area does not overlap any existing slot, it is placed and the element picker opens.
- Select a CMS element in the picker.
Tip: Areas can span multiple rows as well as columns. Draw downward to create a taller slot.
Adding or removing rows
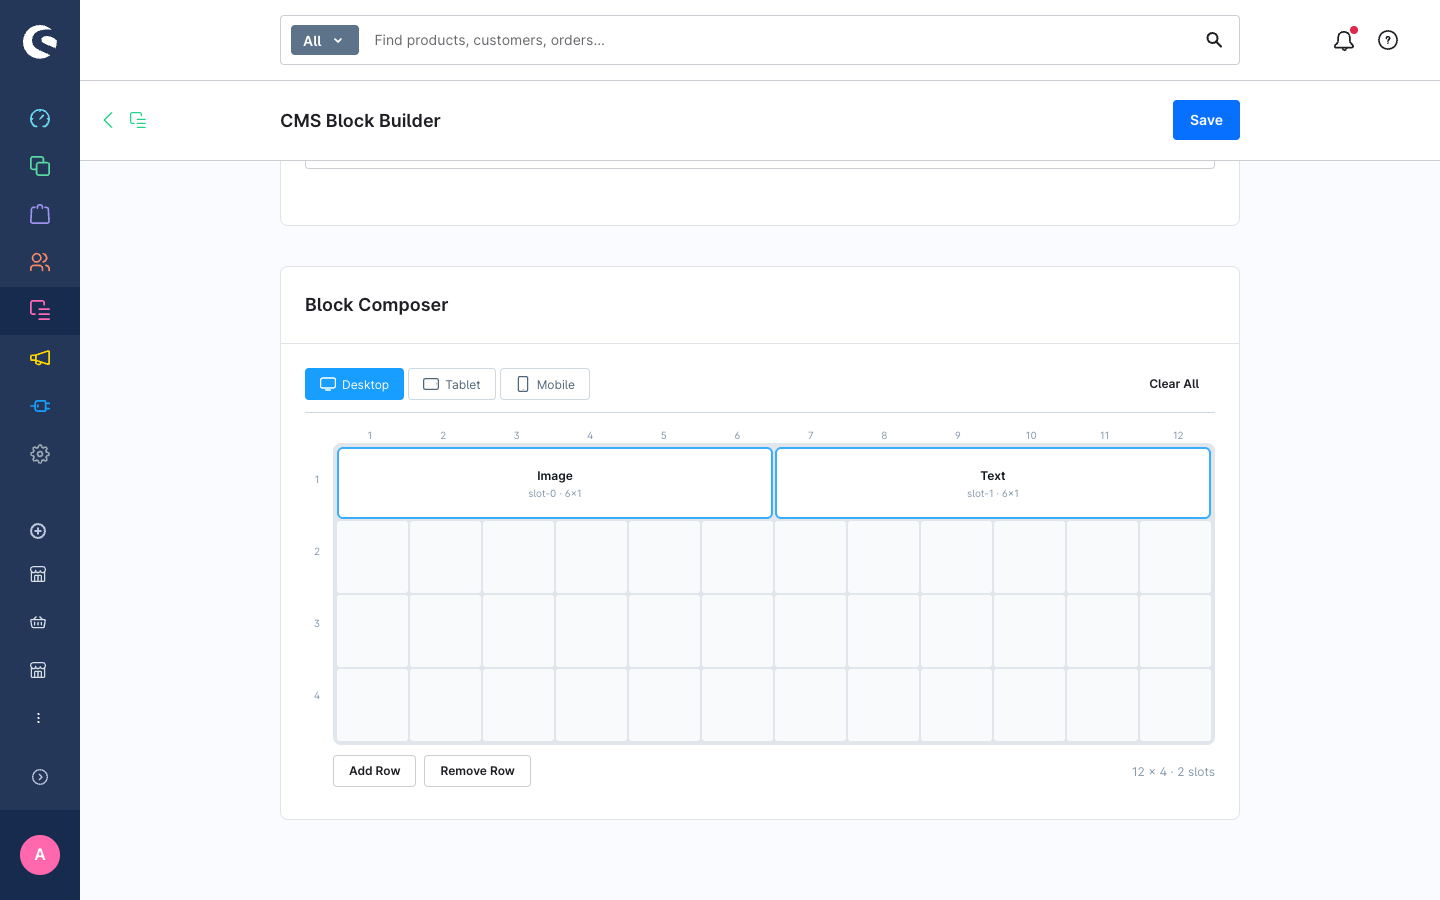
The grid starts with 4 rows. To extend it vertically:
- Click Add Row below the grid to append one row.
- Click Remove Row to delete the last row, provided no area occupies it.
Row controls are only available on the Desktop tab and are disabled when the block is in use on a page (structure locked).
Assigning an element to a slot
After drawing an area, the element picker opens automatically. You can also open it later by clicking on an existing area.
The picker shows thumbnail previews of every available CMS element registered in your shop — including elements from other plugins. Click a preview to assign that element type.
To swap the element in an existing slot, hover over the area and click the swap icon that appears.
Clearing the layout
To start over on the Desktop tab, click Clear All in the toolbar. This removes all areas and slot assignments.
Note: Clear All is only available on the Desktop tab. Tablet and Mobile layouts can be reset independently by removing individual areas on those tabs.
Saving the block
Click Save. The plugin validates:
- Block Name and Technical Name are not empty.
- Technical Name is unique (not used by another custom block or a registered Shopware block).
- Every area has an element assigned.
If any check fails, a warning notification identifies the issue. Fix it and save again.
What happens after saving
- The block is written to the
ssd_custom_blockdatabase table. - The CMS block picker in Shopping Experiences registers the new block under the category you chose.
- The block is available immediately — no cache clear required.