
How to add a custom block to a CMS page
This guide explains how to place a saved custom block onto a Shopping Experiences page and configure its element content.
Prerequisites
- You have at least one saved custom block in the library (see Create a custom block).
- Admin access to Shopping Experiences with permission to edit CMS pages.
Step 1 — Open the CMS page
- Go to Content > Shopping Experiences (Erlebniswelten).
- Open an existing page or create a new one.
Step 2 — Find your block in the picker
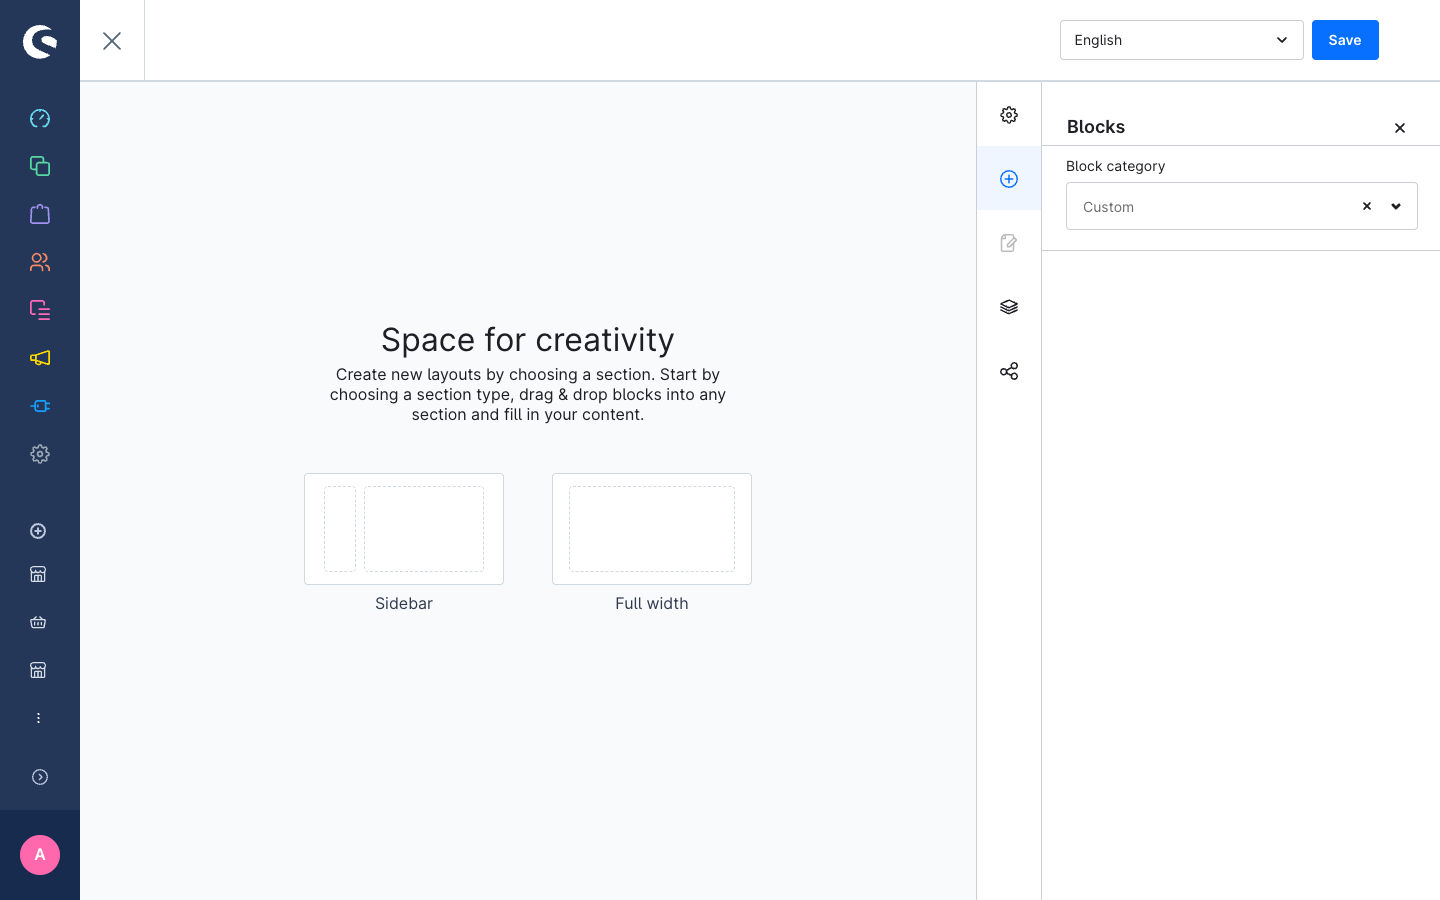
On the right sidebar of the CMS editor, the block picker shows all available blocks grouped by category.
- Locate the category you assigned to your block (e.g. Custom). If you do not see the category, scroll down or search for the block name.
- Your custom block appears with its name and a preview thumbnail showing the grid layout.
Step 3 — Add the block to the page
Drag your custom block from the picker onto the page canvas, or click the + icon to add it to a section.
The block is added to the page. Each slot in the block shows the Shopware element configuration panel for the assigned element type.
Step 4 — Configure element content
Click on each slot to configure the element:
- Image slots — upload or select a media file, set alt text.
- Text slots — enter content in the rich text editor.
- Product slider slots — assign a product stream or select products manually.
- Other element types follow their standard Shopware configuration panels.
This is identical to configuring the same element type in any built-in Shopware block.
Step 5 — Save the page
Click Save in the CMS editor. The page is saved with your custom block and its element content.
Step 6 — Preview in the storefront
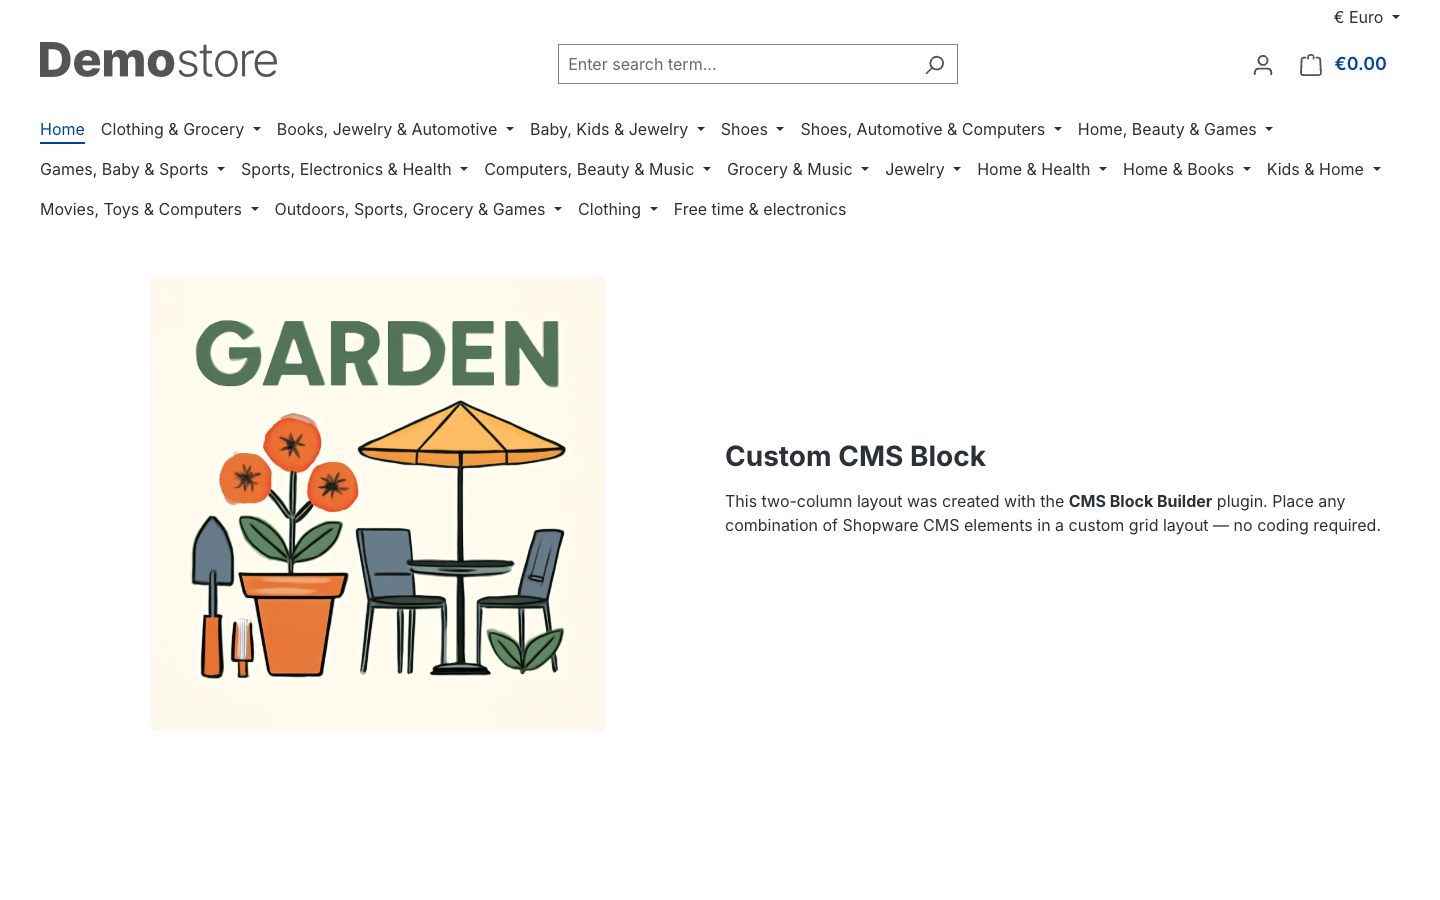
Use the Preview button in the CMS editor or open the page URL directly in the storefront. The block renders using the CSS Grid layout you designed, with the content you entered.
What to do if the block does not appear in the picker
- Confirm the block is Active — open it in the Block Builder and check the Active toggle.
- Confirm the block has a valid layout — a block without at least one slot with an element assigned is not registered in the picker.
- Reload the Shopping Experiences page to force the picker to re-fetch from the API.
Replacing one block with another
To swap a block on a page for a different one, remove the existing block from the canvas (click the block, then the delete icon) and drag the replacement from the picker.
Important: If you need to change the layout of an existing block that is already placed on pages, note that structural changes (adding/removing slots, changing the grid) are locked once a block is in use. Create a new block with the updated layout and replace the old one on each page.