
Getting started with CMS Block Builder
This tutorial walks you through installing the plugin, building your first custom CMS block, and placing it on a page so it is visible in the storefront. It takes about ten minutes.
Prerequisites
- Shopware 6.7 admin access with permission to manage plugins and Shopping Experiences pages.
- The CMS Block Builder plugin installed and activated (see step 1).
Step 1 — Install and activate the plugin
- In the Shopware admin go to Extensions > My extensions.
- Find CMS Block Builder and click Install, then Activate.
- After activation, the Content menu gains a new CMS Block Builder entry.
Step 2 — Open the Block Builder
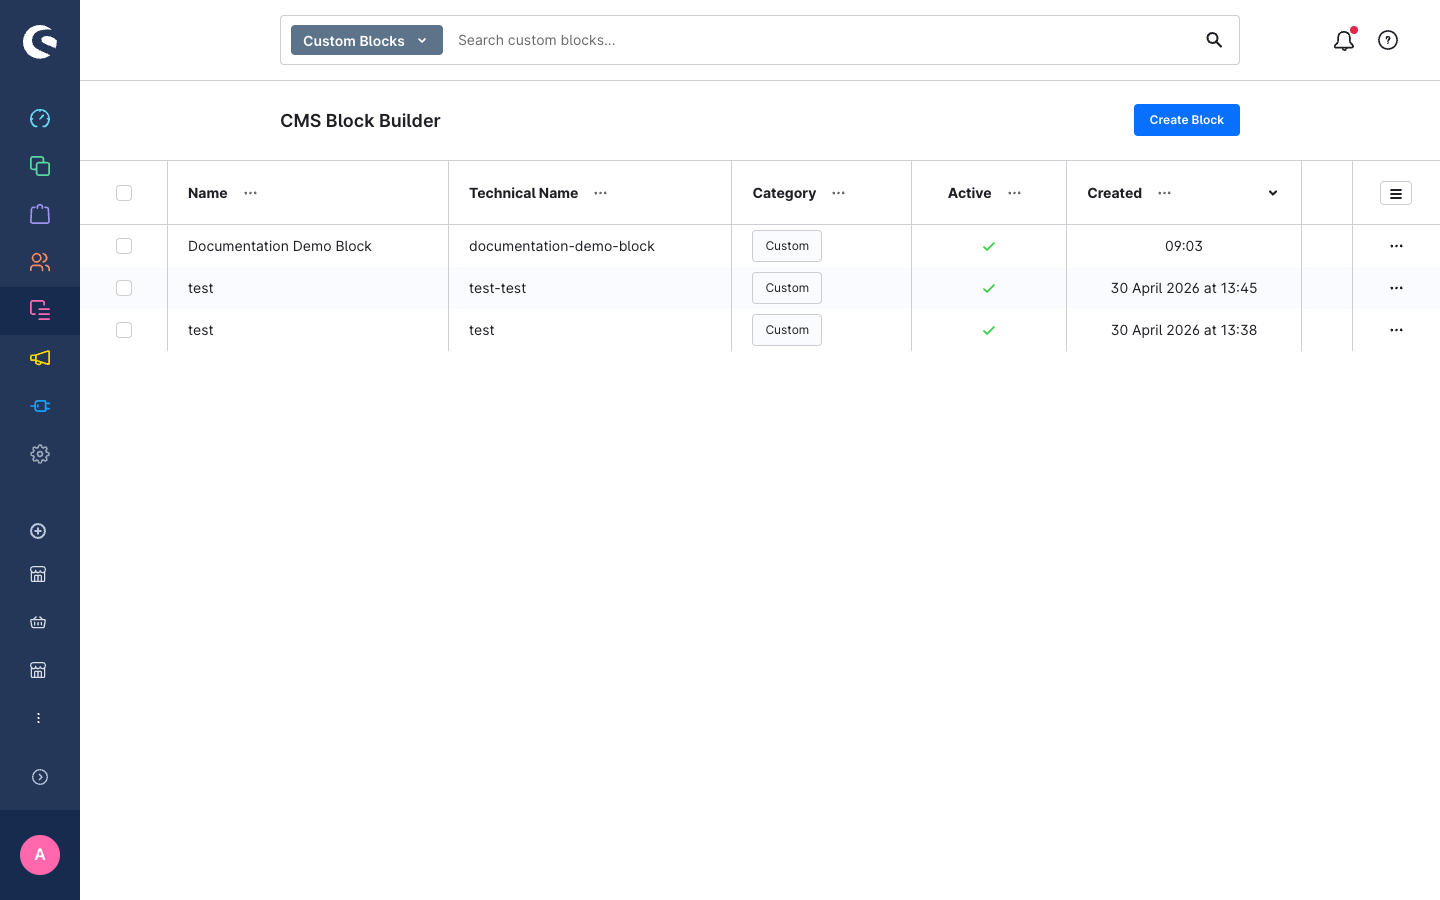
- In the admin sidebar, click Content > CMS Block Builder.
- You see the block library list. It is empty on a fresh install.
- Click Create Block in the top-right corner.
Step 3 — Fill in the block settings
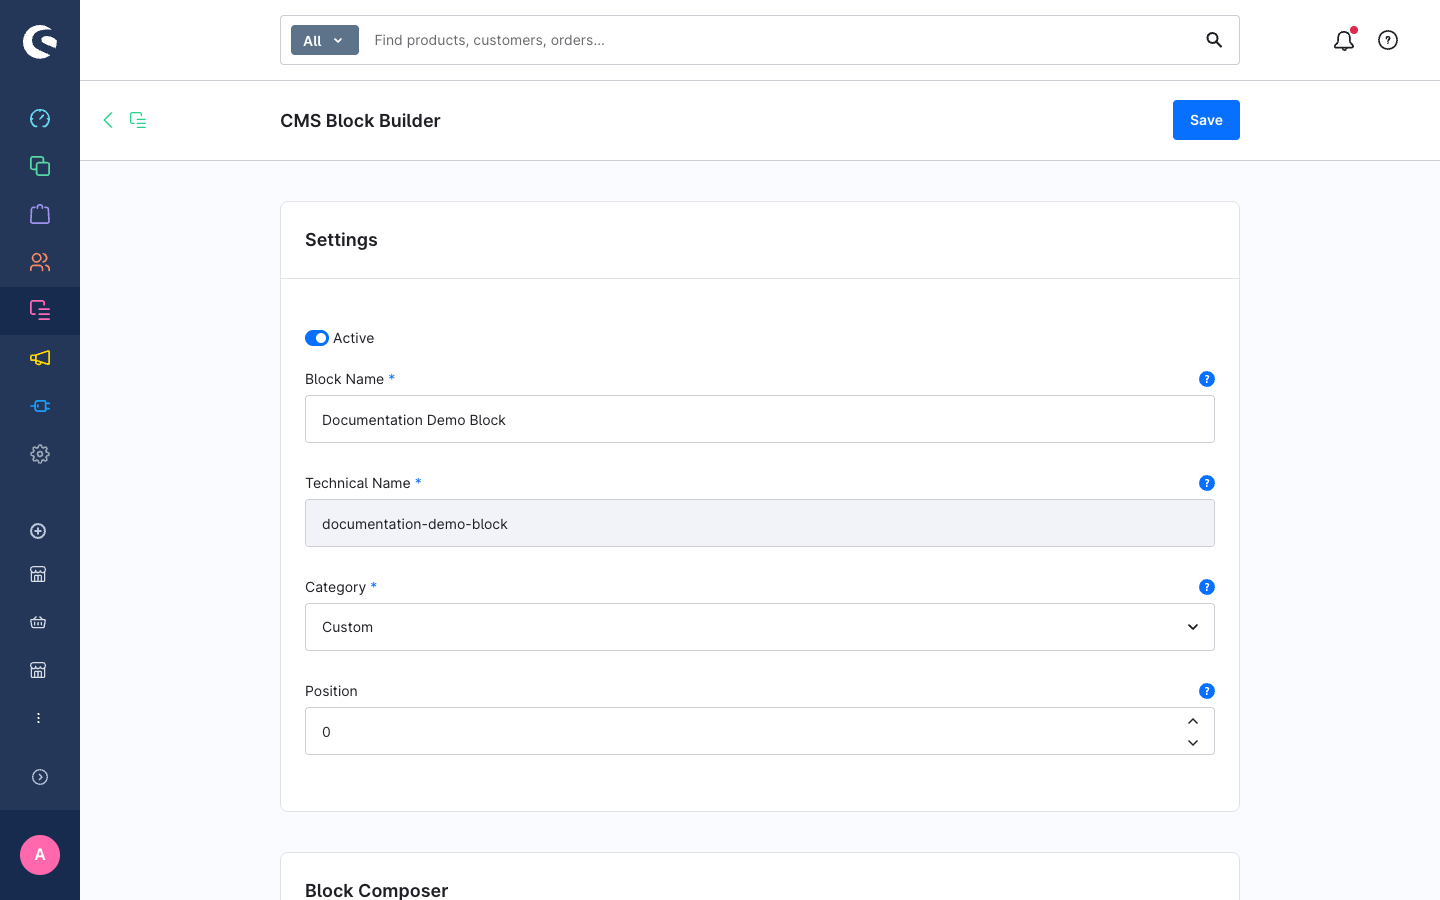
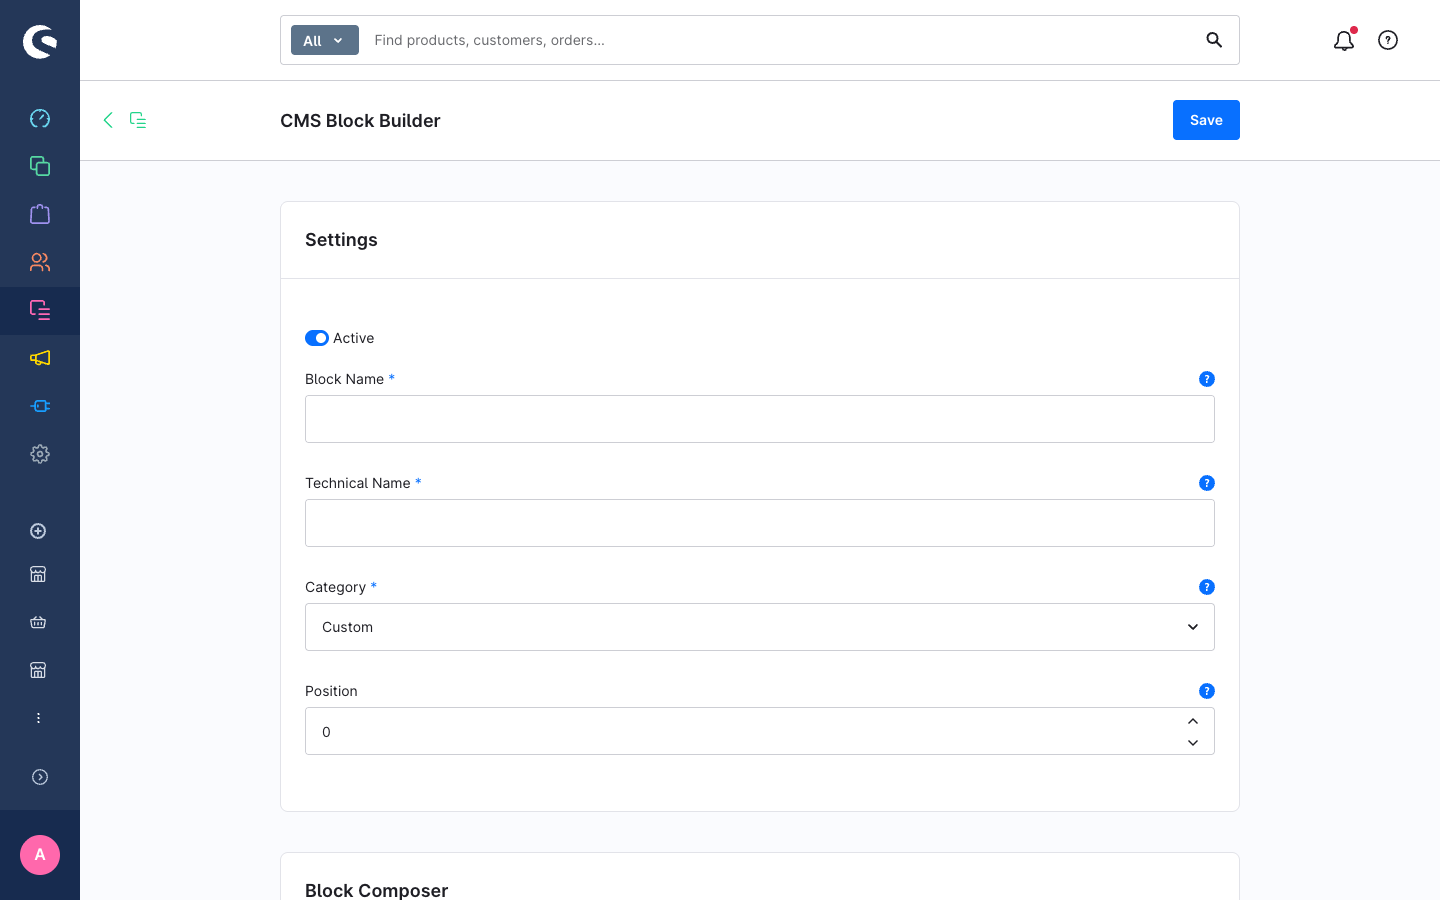
On the create page, fill in:
| Field | What to enter |
|---|---|
| Block Name | A human-readable display name, e.g. Hero with Text |
| Technical Name | A unique identifier in lowercase with hyphens, e.g. hero-with-text. Cannot be changed after saving. |
| Category | Choose where the block appears in the block picker, e.g. Custom. |
| Position | Leave at 0 for now — lower numbers appear earlier in the picker. |
Leave Active switched on.
Step 4 — Design the layout in the Block Composer
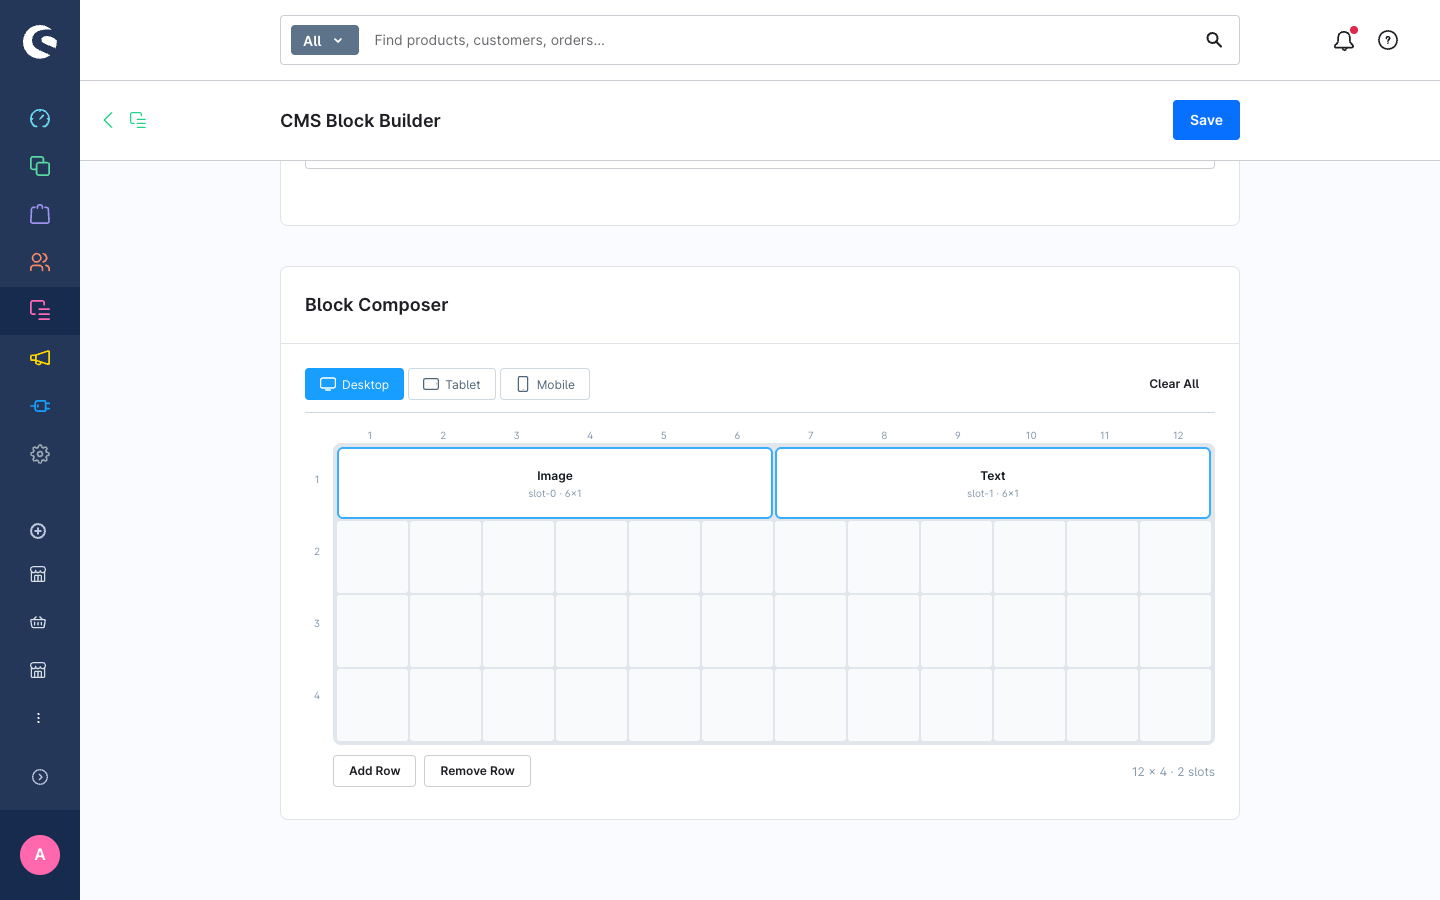
The Block Composer is the drawable grid below the settings card. It uses a 12-column CSS Grid canvas.
Quick start with a preset:
- In the empty state, you see preset cards: 1 Column, 2 Columns, Sidebar Left, etc.
- Click 2 Columns to instantly place two equal-width slots side by side.
- The grid shows two areas labelled
slot-0andslot-1.
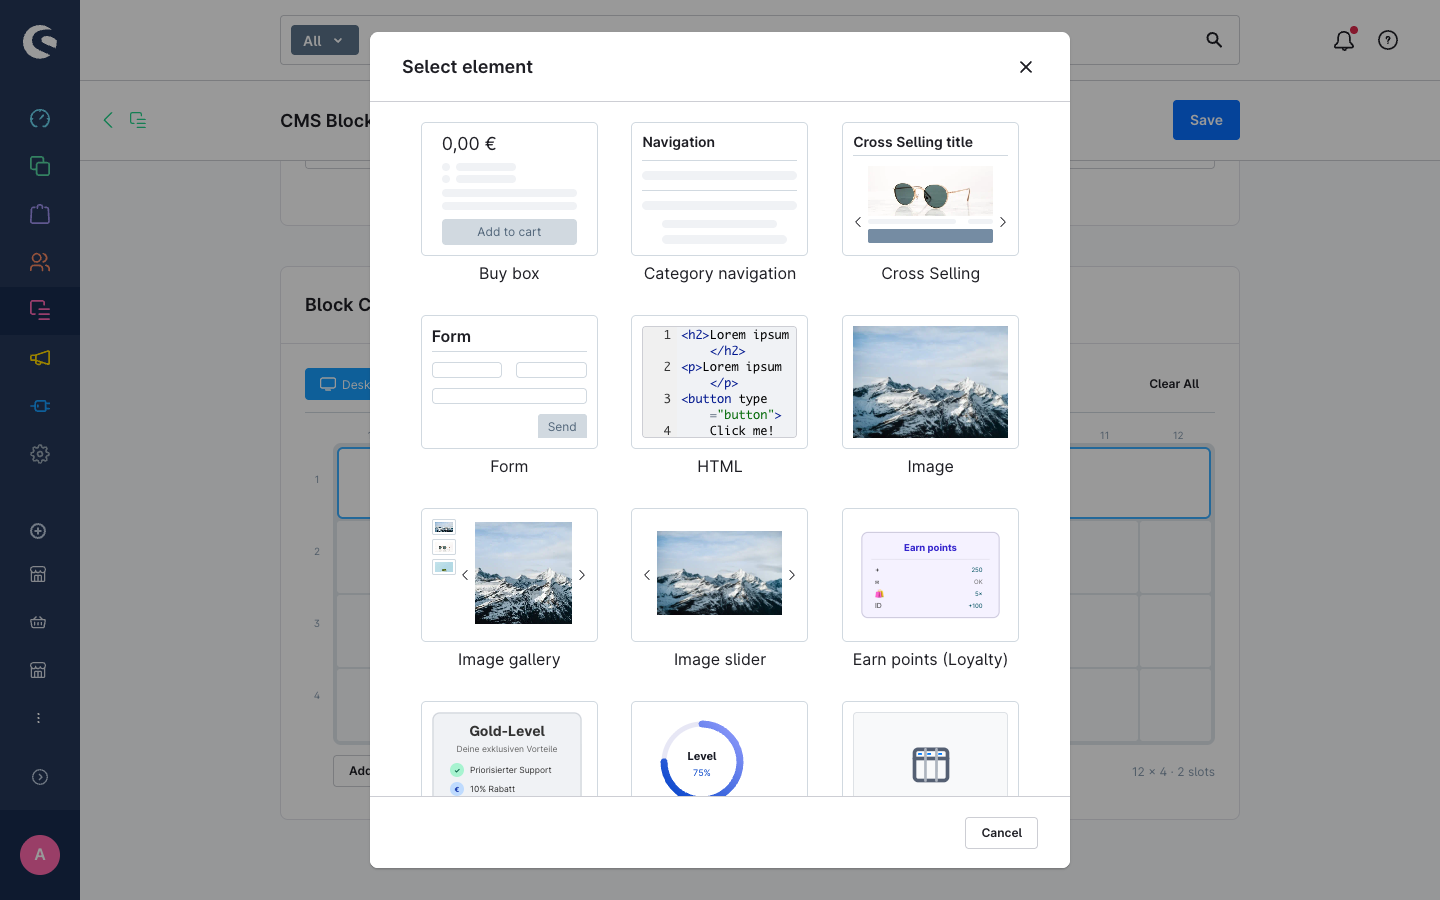
Assign elements to each slot:
- Click on the
slot-0area (or it opens automatically after drawing). The element picker modal appears. - Scroll through the available CMS element previews and click the one you want, e.g. Image.
- The slot now shows "Image" as its element label.
- Click on
slot-1and assign Text (or any other element).
Both slots now have elements assigned.
Step 5 — Save the block
Click Save in the top-right corner. If the block saves successfully, you see a success notification and the page reloads with the block detail view.
The block is now registered in the CMS block picker.
Step 6 — Place the block on a page
- Go to Content > Shopping Experiences (Erlebniswelten).
- Open an existing page or create a new one.
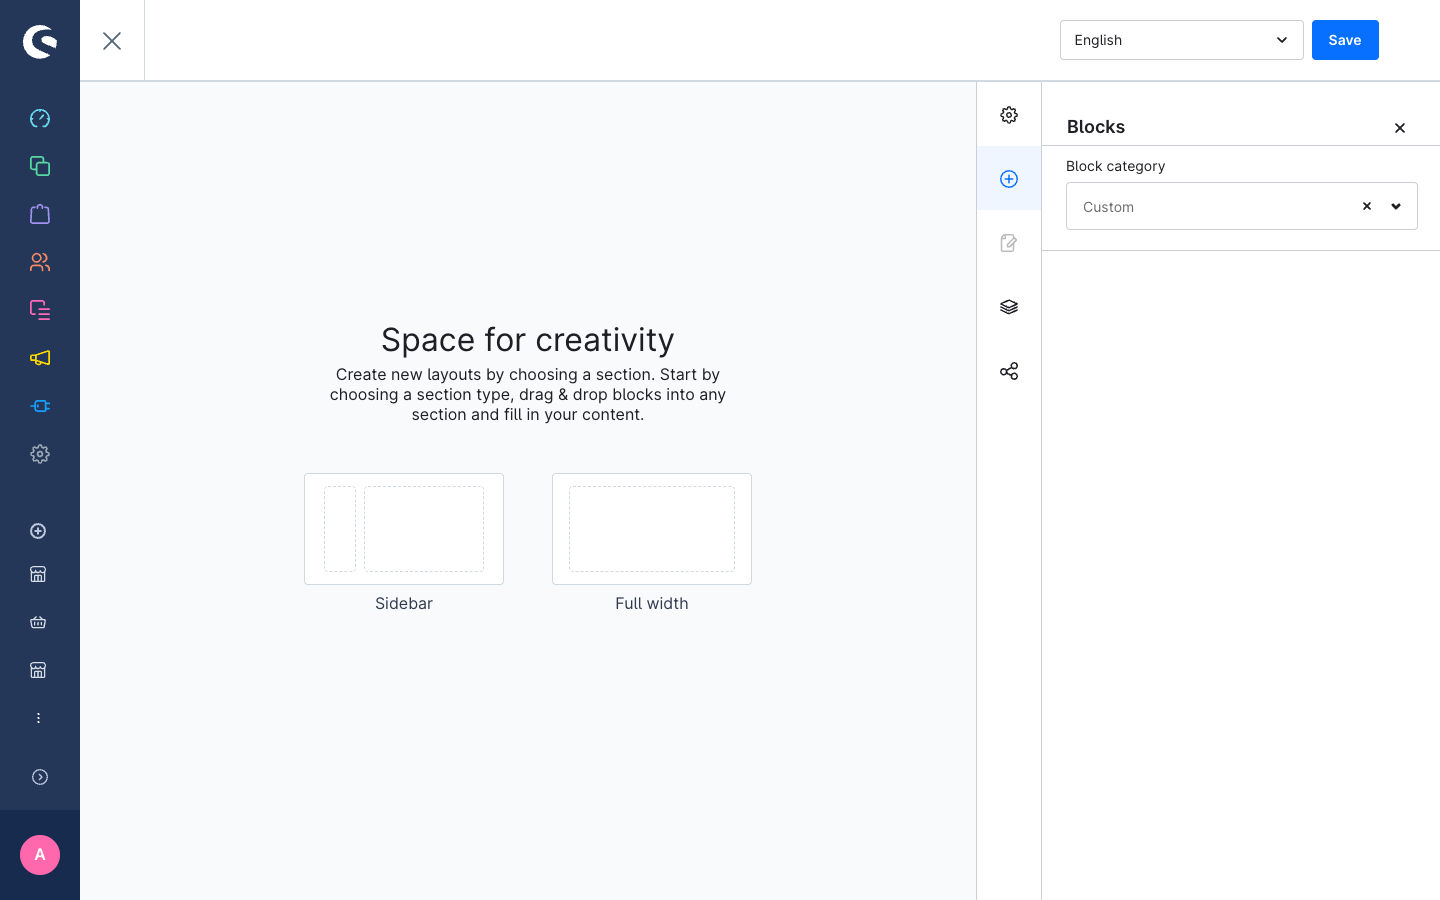
- In the block picker sidebar on the right, find the category you chose (e.g. Custom). Your block appears there with its name.
- Drag the block onto the page canvas.
- Each slot opens the standard Shopware element configuration panel. Fill in the image and text content as you would for any other block.
- Save the page.
Step 7 — Preview in the storefront
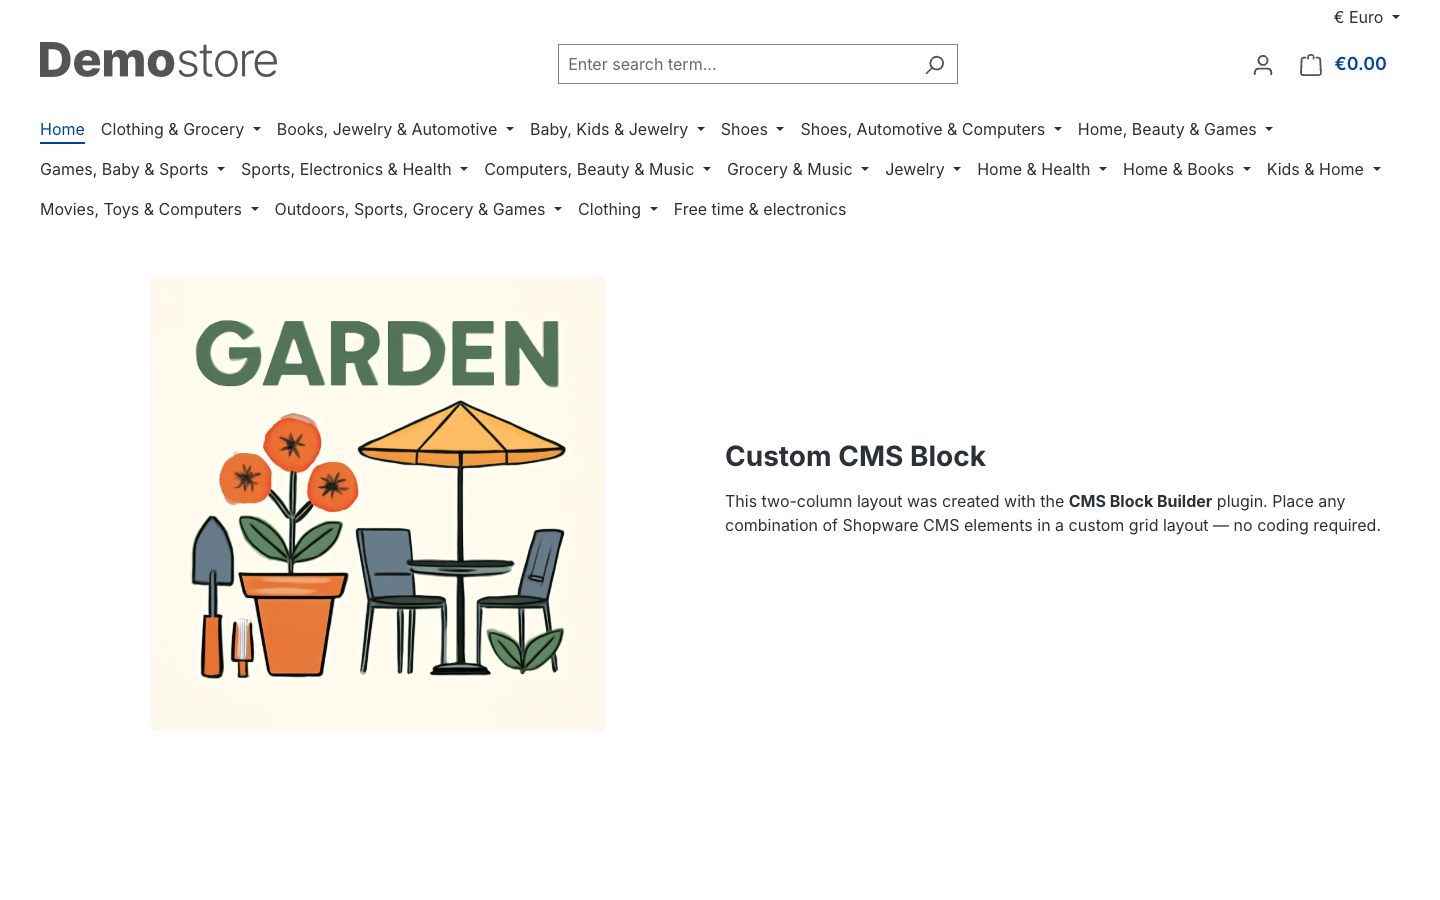
Open the page in the storefront. Your custom block is rendered as a two-column CSS Grid with the image on the left and the text on the right.
You have built and placed your first custom CMS block. From here you can:
- Adjust the responsive layout for tablet and mobile — see Configure responsive layouts.
- Add more blocks to the library — see Create a custom block.
- Manage, duplicate, and delete blocks — see Manage your block library.