
How to set the overview report
The Analytics module opens to an overview page when you navigate to it. By default, the plugin seeds an "Overview" report and sets it as the overview automatically. This guide explains how to change which report is shown as the overview, and what happens if no report is configured.
Set a report as the overview
- Go to Settings > Extensions > Advanced Analytics Dashboard.
- In the General settings card, find the Overview report field.
- Click the field and search for the report you want to use as the Analytics overview. Only existing
ssd_analyticrecords appear in the list. - Select the report and click Save.
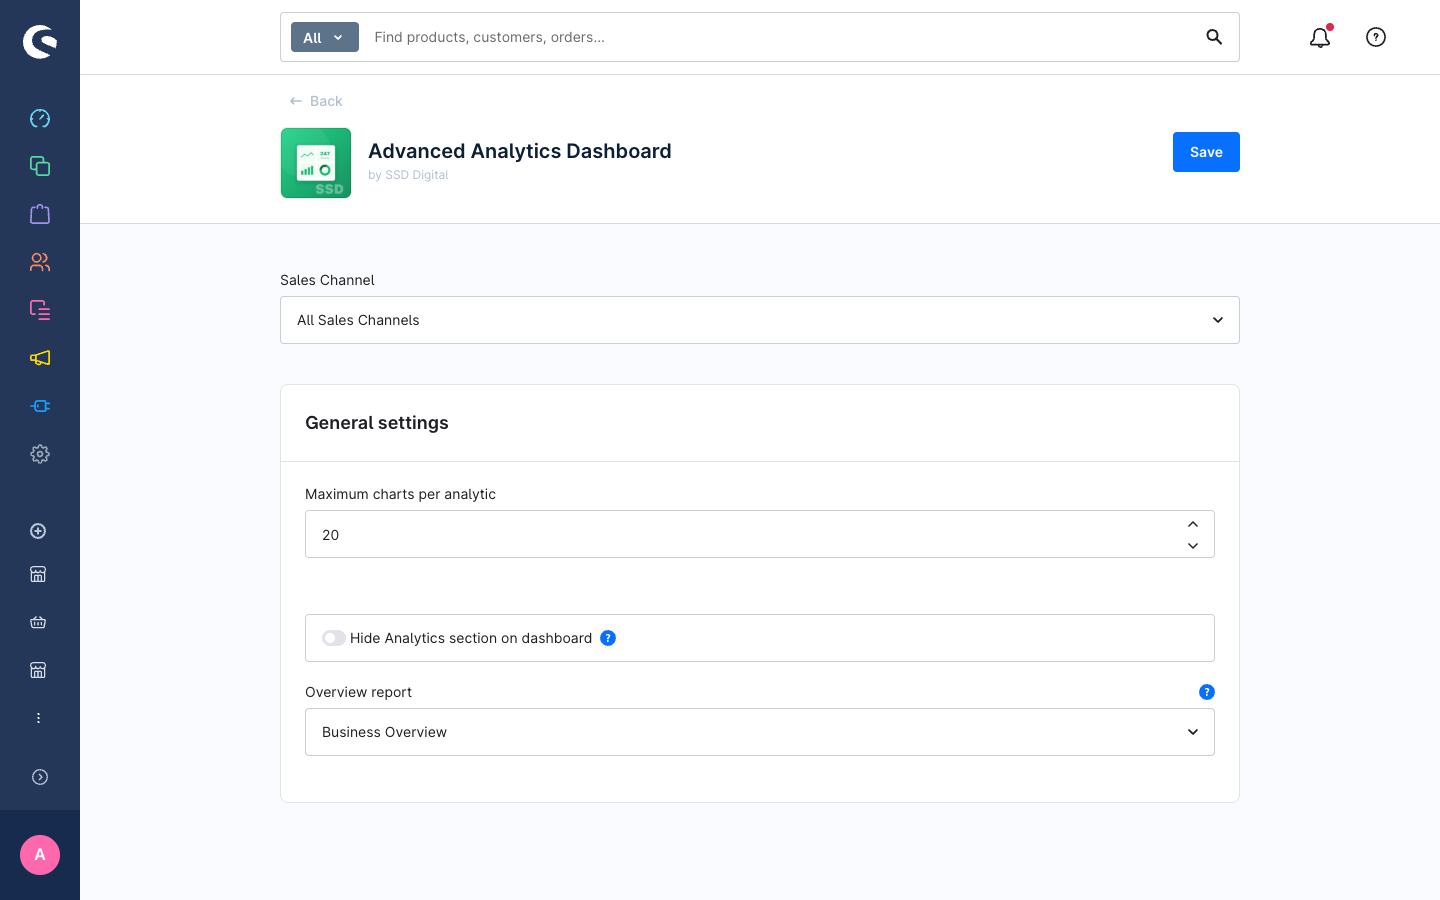
The selected report is now shown when an admin user navigates to the Analytics module. It is also excluded from the report list so it does not appear twice in the Reports section.
Clear the overview report
To remove the overview report selection (leaving the Analytics landing page empty), clear the Overview report field in the plugin settings and save.
Create a new report for use as the overview
Any report can serve as the overview. See Build a report to create one tailored for your daily monitoring needs — for example, a report combining a revenue trend line, a customer count KPI, and an order-state pie chart.
Notes
- The overview report is stored as the
SsdAdvancedAnalytics.config.overviewReportIdsystem config value. - The plugin's migration seeds a default "Overview" report and sets
overviewReportIdautomatically on first install, provided no value already exists. - System-seeded records (
is_system = true) are excluded from the deletable list; if you want to replace the default overview report, set your new report as the overview first, then delete the old one if needed.
Next steps
- Configuration reference — full list of plugin settings.
- Build a report — create or customize a report to use as the overview.