
Getting started with Ultimate Popups
This tutorial walks you from a fresh plugin installation to a working popup visible in the storefront. Follow each step in order.
Prerequisites
- Shopware 6.7.x installed and running.
- Admin access with permission to install plugins and edit content.
- The plugin zip file from ssd-digital.io or the Shopware Store.
Step 1 — Install and activate the plugin
- Open Shopware Admin and navigate to Extensions > My Extensions.
- Click Upload extension and select the
SsdUltimatePopup-4.2.0.zipfile. - After upload, click Install next to Ultimate Popups.
- Once installation is complete, click the toggle to activate the plugin.
The admin menu now shows Content > Ultimate Popups.
Step 2 — Create a CMS page for your popup content
The popup displays a standard Shopware CMS (Shopping Experience) page. You need to create one before you create the popup.
- Navigate to Content > Shopping Experiences.
- Click Create new layout and choose the type and number of sections that fit your content (for example, a one-column section with a text block).
- Add your content — a headline, some body text, a button, or a newsletter form.
- Set the layout name to something recognisable, for example Welcome Popup.
- Click Save.
Step 3 — Create your first popup
- Navigate to Content > Ultimate Popups.
- Click Add Popup.
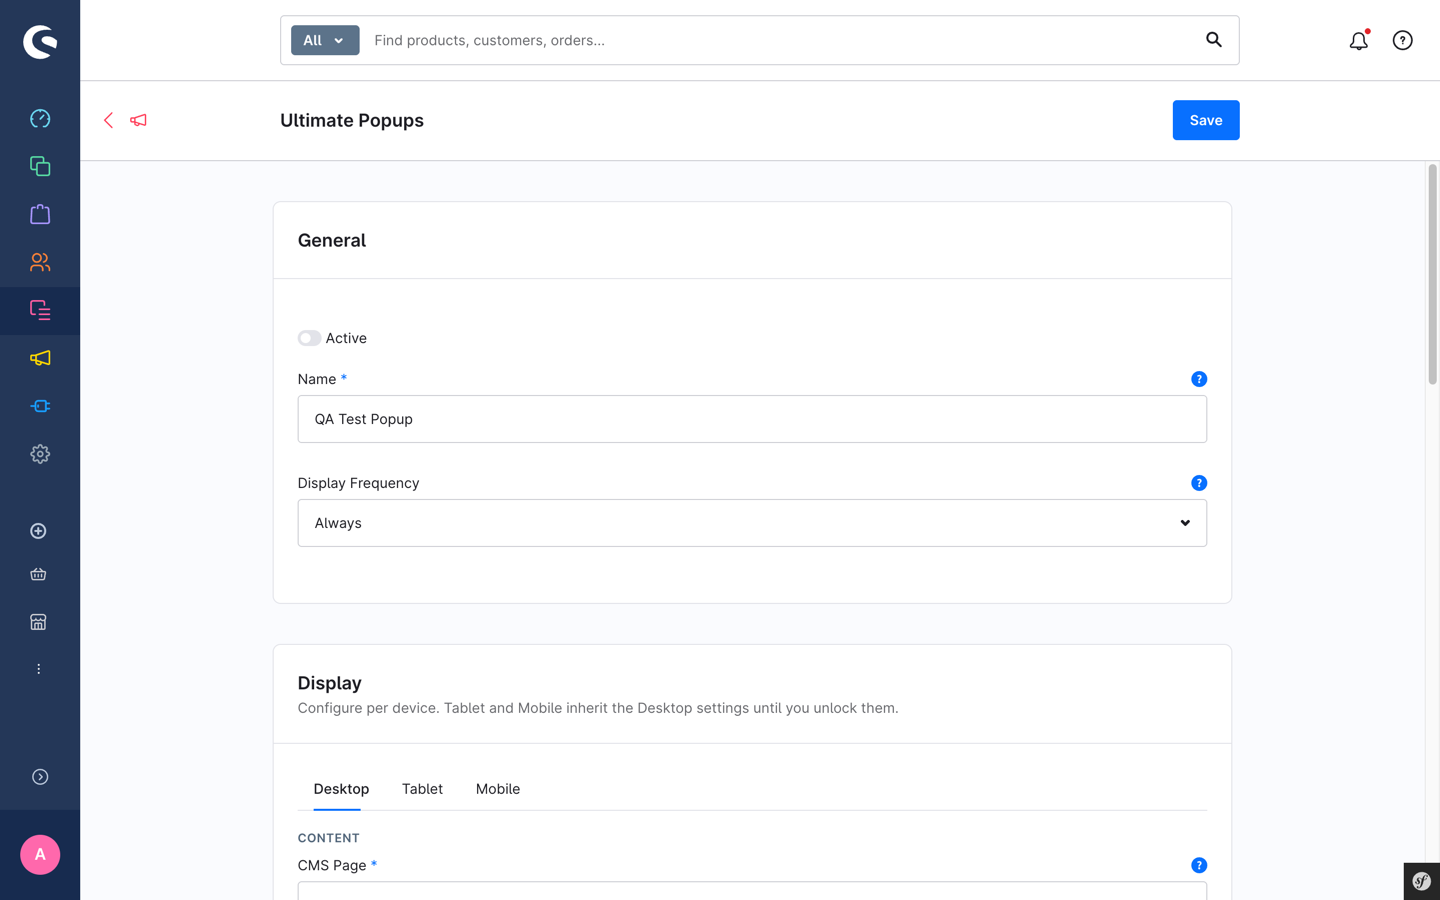
- Fill in the General section:
- Active — leave on.
- Name — an internal label, for example Welcome Offer.
- Display Frequency — leave Always.
- In the Display card, stay on the Desktop tab and set:
- Content > CMS Page — select the Welcome Popup layout you created in Step 2.
- Leave the rest at their defaults (Modal Size: Default, Vertical Alignment: none/top, Display Trigger: Immediately). The Tablet and Mobile tabs inherit these Desktop values automatically — you can leave them alone for now.
- Skip the Conditions card for now — no restrictions means the popup shows on every page of every sales channel.
- Click Save.
Step 4 — Open the storefront
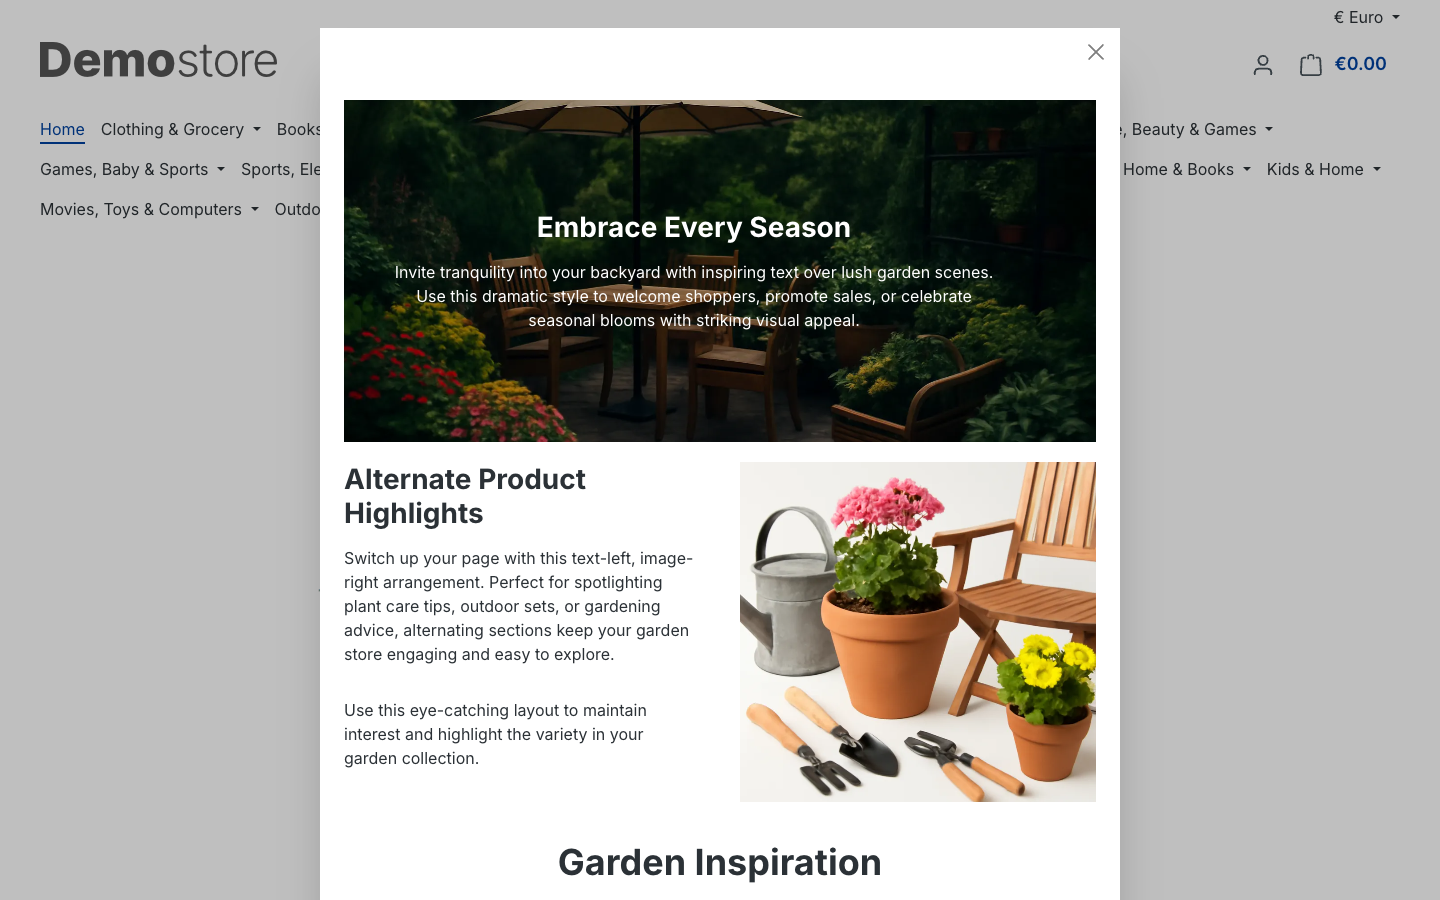
- Navigate to your storefront's home page (for example
https://your-shop.example.com/). - The popup should appear immediately on page load.
What you have built
You now have a popup that:
- Loads the Welcome Popup CMS page inside a modal dialog.
- Shows on every page, every time a visitor loads a page (frequency: Always).
- Fires immediately without any delay.
- Has no targeting restrictions — it applies to all sales channels and all routes.
Next steps
| Goal | Guide |
|---|---|
| Learn every field in the popup editor | Create a popup |
| Fire the popup only when a visitor tries to leave | Set triggers and timing |
| Limit the popup to the home page or product pages | Target specific pages |
| Show the popup only once per session | Set frequency and cookie rules |
| Make the popup full-screen or hide the header bar | Configure appearance |